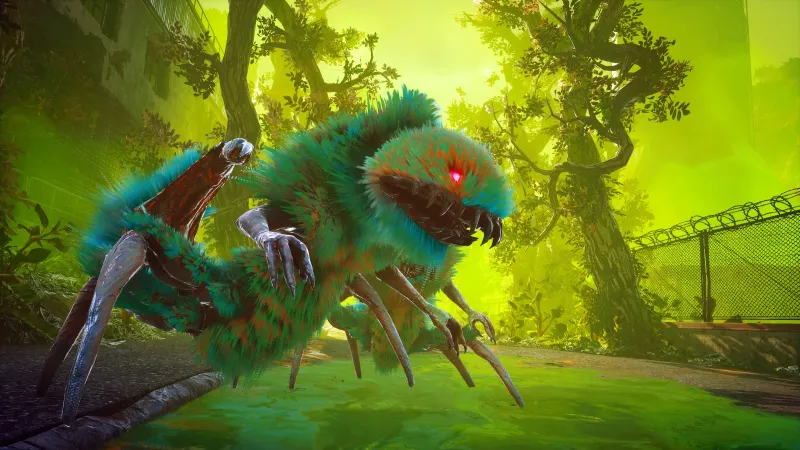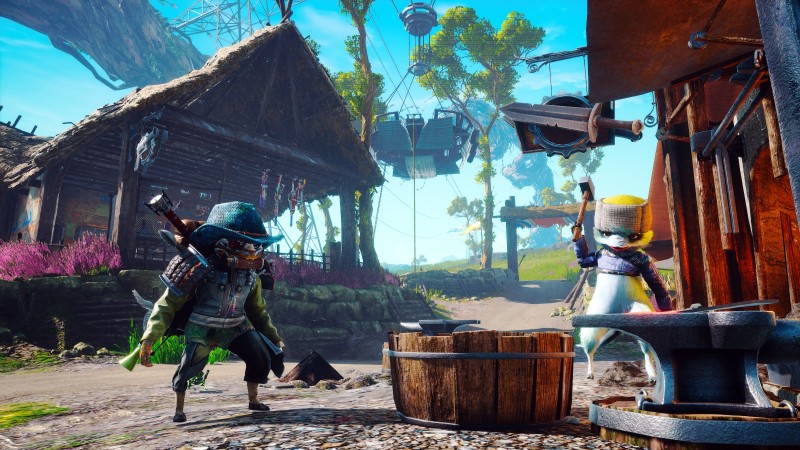
So, you picked up Biomutant, eh? Although I didn’t enjoy the game as much as I’d hoped (check out our review), there’s no denying that the experience possesses a certain charm and can offer solid fun if you’re willing to put up with some drawbacks. If you’re planning to take the plunge, know that Biomutant has a ton to do and it can be overwhelming to decide where to go first and what to prioritize. To get your adventure started on the right foot, I put together this spoiler-free beginner’s guide with some general tips and advice, some of which I wish I knew earlier after investing dozens of hours into the experience.
Don’t Stress About Picking A Tribe Or Class
Biomutant begins by having you create a character, which includes selecting its tribe. This dictates your proficiency in certain stats, as well as your general appearance. Classes, meanwhile, come with a special ability or perk, such as Psi-Freak’s Spark Ball attack.
Don’t stress too much about being locked into a specific way of playing. These templates are largely fluid and outside of missing out on a certain perk (not a big deal) any of them can be tailored to your liking depending on where you invest your ability points. Saboteur may be the best class for dual-wielding melee weapons, but that doesn’t mean other classes can’t dual-wield effectively. When it comes to selecting a tribe, feel free to pick one based on appearance first and foremost.
Your fur style and color can be changed by visiting a barber named Trim. The game doesn’t steer you towards him so, if you find yourself regretting your appearance early on, you can find trim towards the center of the map east of Urfidurf Outpost, just outside of the small town of Flibberdit.

Find Protective Suits Instead Of Upgrading Resistances
Some areas of the map are plagued with deadly environmental effects like heat, cold, and radioactivity. While you can spend time investing precious Bio Points into upgrading your natural resistance to these zones, that’s a fool’s errand. Upon stepping into these hazardous biomes for the first time, you’ll trigger quests to find the protective suits for each zone. Go out of your way to do these missions as soon as possible.
They’re largely simple affairs that don’t take too long to complete, and the reward is a suit that provides complete invulnerability to its corresponding biome. Best of all, you can save up to five outfits in the gear menu so switching between suits is a breeze. Bio Points are also used to purchase new Biogenetics, which is a category of special powers. Why waste points raising your cold resistance from one to three percent when you can learn how to create giant mucus bubbles instead?
Don’t Be Afraid To Change Your Aura
Aura is your morality, which swings between light and dark depending on your choices and actions. It takes the form of a simple point system, and some Psi-Powers, the other tier of superpowers, can only be obtained if your Aura is a specific level either way.
If you’re a goodie-two-shoes eying that dark-exclusive telekinesis ability, all you have to do is commit enough evil deeds to raise your darkness level, and vice-versa. It’s very easy to do. Outside of dialogue choices, there are small animals roaming the world you can catch. When you do, you’re given the option to kill or spare them. Whatever you pick, you’re rewarded a point towards the respective alignment. It’s effectively a quick and easy way to grind alignment.
There are other ways to manipulate this metric (like praying to light/dark shrines) but the point is that it’s very simple to swing from being super evil to super good without major repercussions. Or at least consequences you’ll care about; the narrative as a whole is nothing special whatsoever, so who cares what your choices bring? You’ll have more fun being a morally fluid powerhouse boasting a full arsenal of Psi-Powers.

How To Turn Down The Narrator
If you’re like me and get tired of the narrator’s constant interjections outside of cutscenes, you can enter the audio settings and lower the frequency of his banter via a slider. I didn’t discover this until many hours in. Once I did, I dropped that sucker down to zero. You’ll still hear from him often since he narrates the story and characters but anything that lessens his presence helps. Trust me: you’re not missing anything.
What Automaton Upgrades To Prioritize
Upgrading your grasshopper-like Automaton involves interacting with Mirage, a Kung Fu Panda-looking dude who pops up in different areas across the map. He stands out like a sore thumb so if you spot him, drop everything and chat him up. He’ll treat you to a flashback battle sequence, but regardless if you win or lose the fight you’ll unlock a new function for your Automaton. There are five total with the flashlight unlocked from the start. I recommend unlocking the rest in the following order based on usefulness:
- Glider – lets you glide short distances.
- Health Injector – A reusable consumable that refills your health.
- Turret – your Automation automatically attacks enemies during battle.
- Boost – A reusable consumable that raises your damage output.
You Don’t Need To Hold Down A Button To Glide
Once you obtain the glider, you’ll instinctively hold down the jump button while gliding because that’s how video games tend to operate. You don’t have to. Tap it once, and you’ll glide (somewhat) hands-free. Seems like a small thing, but I didn’t realize this for a good while and had a more comfortable time playing once I did. Plummeting to the ground wouldn’t matter anyway since there’s no fall damage, but at least your thumb gets a break.

Don’t Trust The “Area Cleared” Messages
Most areas display the type of loot it holds and how much of it there is to find. Locate everything listed and you’ll be treated to an “Area Cleared” message. Don’t believe it; areas still have plenty of decent loot that, for some reason, doesn’t fall under this metric. If you take the game at its word, you’ll miss out on consumables, crafting ingredients, and yes, even weapons and gear. Keep digging until you’ve truly cleaned out every desk, chest, or locker before moving on.
Break Before You Buy
When it comes to selling unwanted weapons or gear versus deconstructing them for parts/ingredients, I generally found recycling to be far more valuable. You’ll always need a healthy supply of ingredients, both for crafting and for certain missions where NPC’s request 20 pieces of wood, for example. Furthermore, upgrading your equipment at designated benches requires a large amount of resources.
Stores only sell parts instead of completed weapons, and while some vendors offer the occasionally powerful muzzle or blade, you find just as many parts while exploring and they’re often rarer and more powerful. I rarely found ready-made weapons better than the tools I created myself, especially by the mid-game. You should still carry around decent chunk of change, but I didn’t find much reason to open my purse by and large. However, I was always in need of more crafting ingredients.

How To Fast-Track The Tribe War
Resolving the Tribe War is one of the main pillars of Biomutant’s campaign. It’s not great since it features no real narrative content. It’s just an exercise in capturing multiple outposts for each tribe via a bland series of battles.
Odds are you’ll grow bored of them after dealing with the first two tribes, and you have to deal with five of them in total. However, there’s a way to fast-track the process. This is probably the closest thing to a spoiler but I don’t consider it to be one because, again, there’s virtually no real story to this element of the game. If you really don’t want to know anything, turn back now. If you don’t care and want to speed up a very tedious element of Biomutant, read on.
During the final confrontations I chose to persuade the leaders of the first two tribes into surrendering peacefully (which is incredibly easy to do since everyone listens to you if your Charisma is at least in the 50s). Upon uniting the 2nd tribe, a message appeared saying the remaining three tribes have recognized my strength and are willing to collectively surrender. You can choose to accept this surrender or continue to conquer them individually as you’ve been doing. I chose the former option, and I kid you not the other three tribes simply gave up. This immediately ended the Tribe War and opened up the remaining territories for me to explore peacefully.
It’s wild that such a large and integral part of the game can basically be skipped like this. I was grateful for it though because, again, the Tribe War missions are incredibly boring and there are so many other things to do. I don’t know if the same option will arise if you take a more evil approach (it wouldn’t surprise me), but if you find yourself wanting to wrap up the Tribe War sooner than later, here’s what I did to make it happen.
- Maintain a mostly Light Aura.
- Always persuade leaders to surrender.
- Let enemy leaders join you instead of imprisoning them.
This isn’t an exact science, but if you follow that template then odds are you’ll only have to battle two tribes instead of five.
Hopefully, this advice makes your adventure a bit more enjoyable. Let us know in the comments if you’re playing Biomutant and what you think of the game so far.
Source: Game Informer Biomutant: A Spoiler-Free Beginner's Guide

